You’ve got your ”Order Pizza” service tested and working and now you’re wondering how to deploy your service to Dialogflow so you can prepare it for publishing on Google Assistant.
The first step is creating and configuring your Google Cloud project. This enables you to take the next step, configuration for service propagation. Propagation allows Convoworks to deploy your app for you to a platform of your choosing. Lastly, you’re going to propagate the service, check the result on Dialogflow, and test it in simulator.
This tutorial will walk you through the entire process.
Create and configure a new project
We need to create and configure a new Google Cloud project before we can propagate the service to Dialogflow. This entails creating the project, enabling the Dialogflow API, and lastly creating a new service account in order to create and download the service account JSON file.
Let’s start.
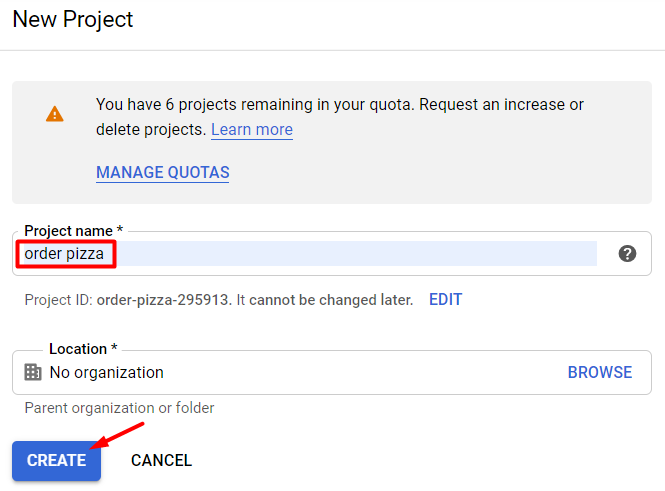
- Sign in to your Google account or create a new one. Next, visit this link to create a new Google Cloud project: https://console.cloud.google.com/projectcreate
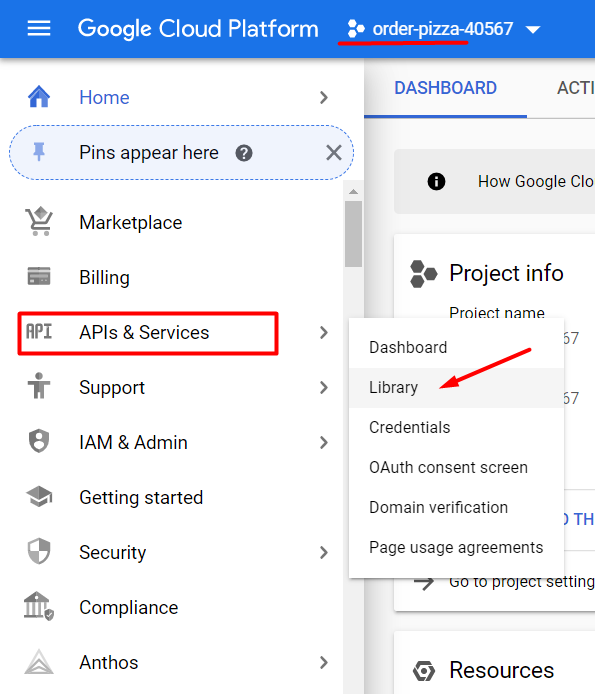
- Select APIs & Services on the project’s hamburger menu. Select the Library menu item on the sub-menu. Find and click the Dialogflow API card on the API Library. Enable the Dialogflow API.
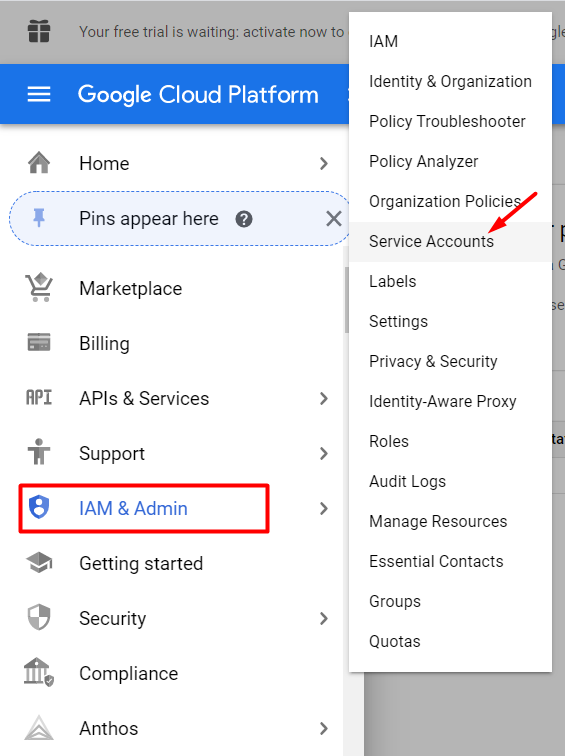
- Open the hamburger menu again and select the IAM & Admin menu item then the Service Accounts sub-menu item. Click the Create Service Account button at the top of the Service accounts page. Enter ‘order pizza’ in the Service account name. Click the Create button next. Select Dialogflow API Admin in the Role dropdown. Now click the Done button. Next, click the newly created account on the Service accounts table.
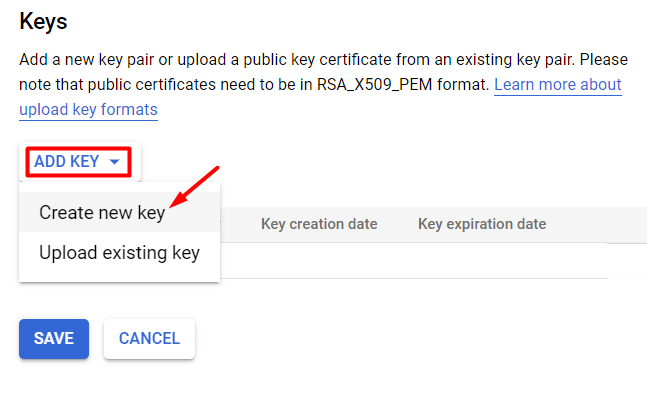 Scroll down and click the Add key button in the Keys section. Select Create new key from the dropdown. A pop-up should appear, select JSON as the key type, and click Create. Open the downloaded JSON file and copy the content. We’re going it need it in the Convoworks service Editor.
Configuration for service propagation
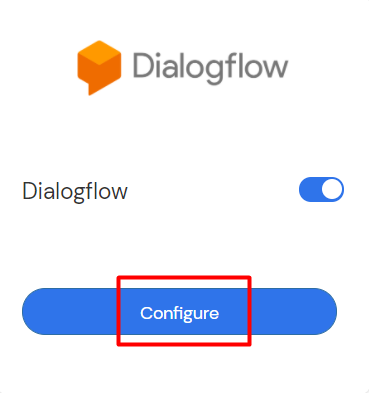 To access the ”Order Pizza” service configuration first select the service from the Services view of the Convoworks Editor. Then open the Configurations menu item, scroll down and click the Configure button on the Dialogflow card.
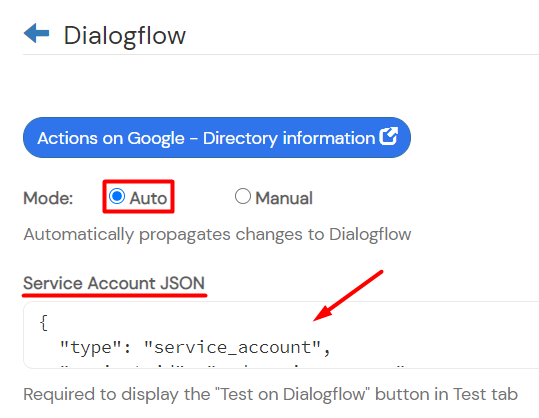
This will take you to the Dialogflow configuration form. Set the Mode to AUTO and paste the JSON file contents in the Service Account JSON field. Enter Agent Name as “OrderPizza” and “App for ordering pizza” as Agent Description. Next, click the Create button.
A Dialogflow agent is a virtual agent that you design and build to handle the types of conversations required for your system.
Let’s check if we can propagate the service now. Click the Propagate to all dropdown at the top of the page and select the Propagate to Dialogflow option. A green-colored message should appear.
Now let’s see if the “Order Pizza” Dialogflow agent was deployed.
Switch to the Test menu item on the “Order Pizza” service page. Click the Test on Dialogflow button on the Test page. We should now be redirected to the service’s Dialogflow page.
Testing on Actions Console
Dialogflow doesn’t provide the option to test the Action in the Assistant simulator. We have to integrate with the Actions on Google console for that.
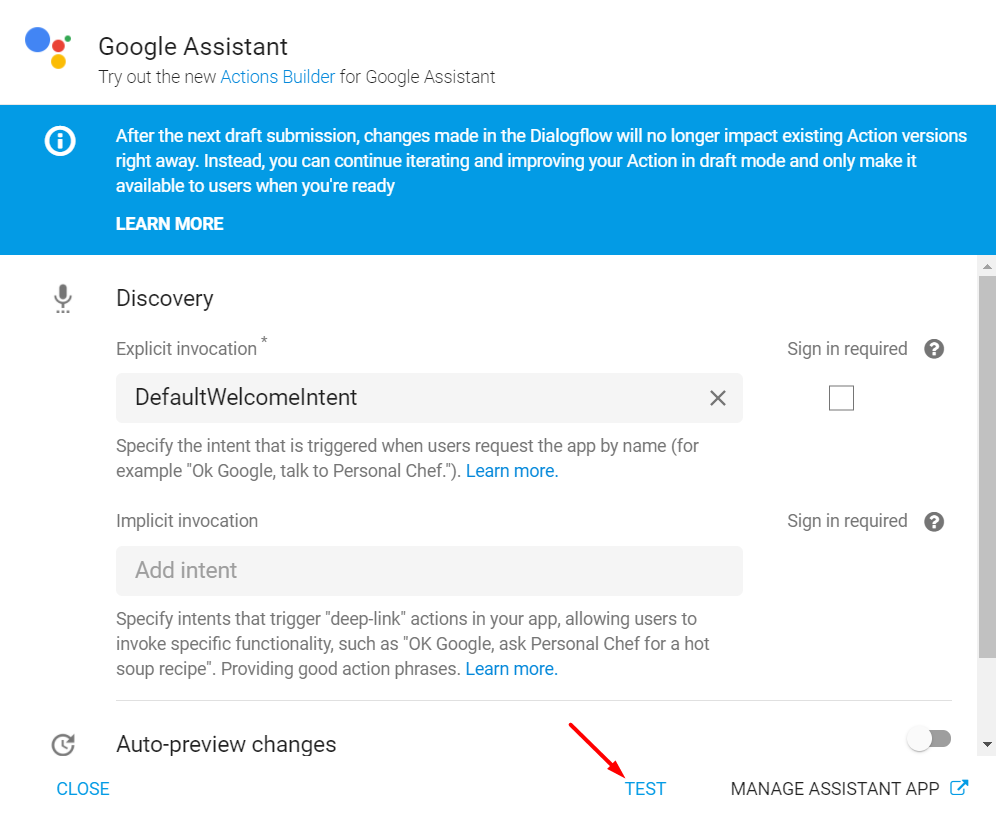 First, make sure the service’s Dialogflow console is still open. Then from the left-hand menu, click Integrations. Next, select Integration Settings. When the Google Assistant pop-up appears, click the TEST option. You’ll have to wait for a bit while your project is being created on the Actions on Google platform. Once the update is done, you’ll be transferred to the Actions console simulator.
To test the action in the simulator, hit the enter key in the Talk to my test app box.