In this article, we will go through all GUI views and shortly describe what for and how to use them.
Services

This is where you can find all your services. You can see when they were last updated, whether they have been propagated to other platforms, and you can also delete them here. When you go to delete a service that has been propagated to other platforms, you can choose to delete only the Convoworks service definition, and leave the vendor skills remaining.

When creating a new service you can choose one of the available service templates to start with. There is a set of basic templates we provide, but if you installed some package extensions, you might find even more of them.
Workflow Editor
When you go to edit a service, this is where you’ll be doing it. We’ll go over the available views one by one, explaining each one in a couple of sentences.
Basic usage
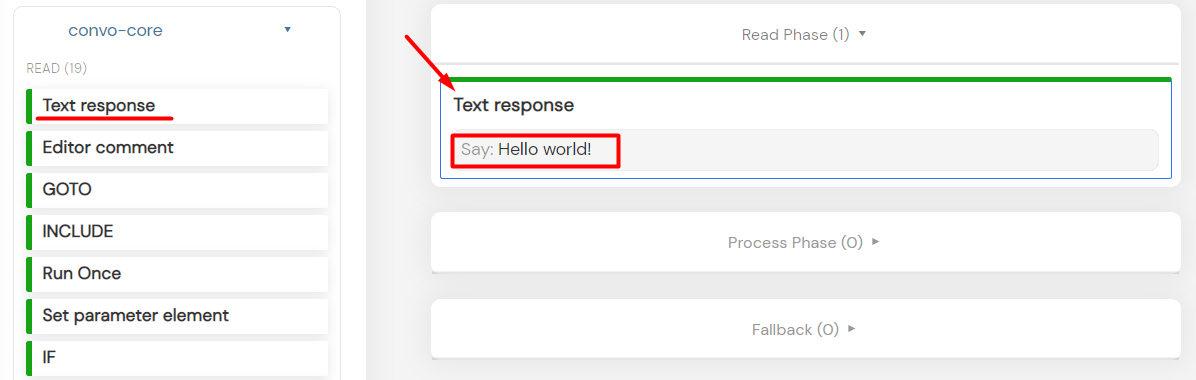
- Drag elements from the left hand side toolbar, and drop them into the middle of the editor, inside containers.
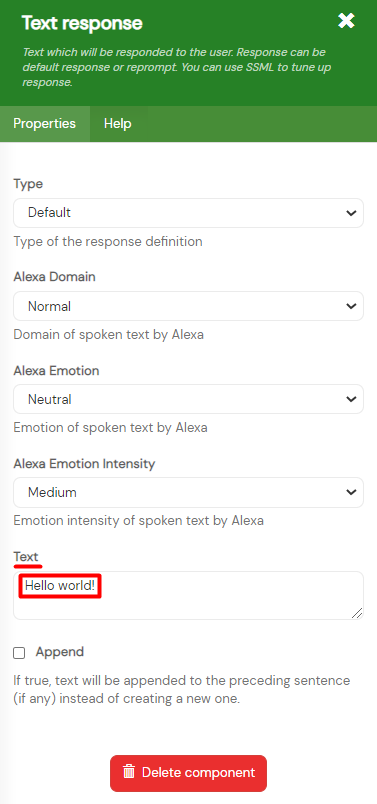
- Click on these elements and edit their properties.
- Reorder elements by dragging existing ones up or down.
- Reorder blocks on the right hand side menu by dragging them around.
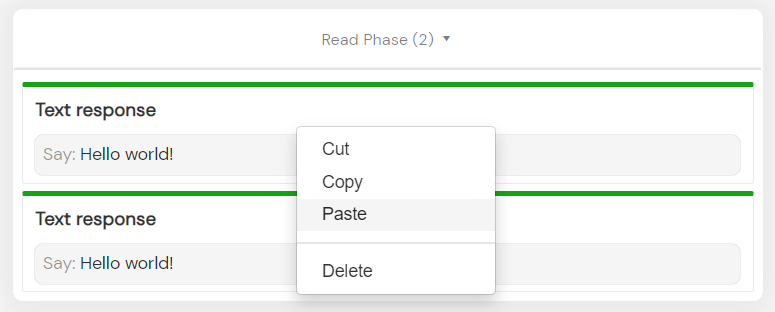
- Use right-click to copy/paste components and blocks

- Check help files for components
Here are a few hints for using it in a more effective way
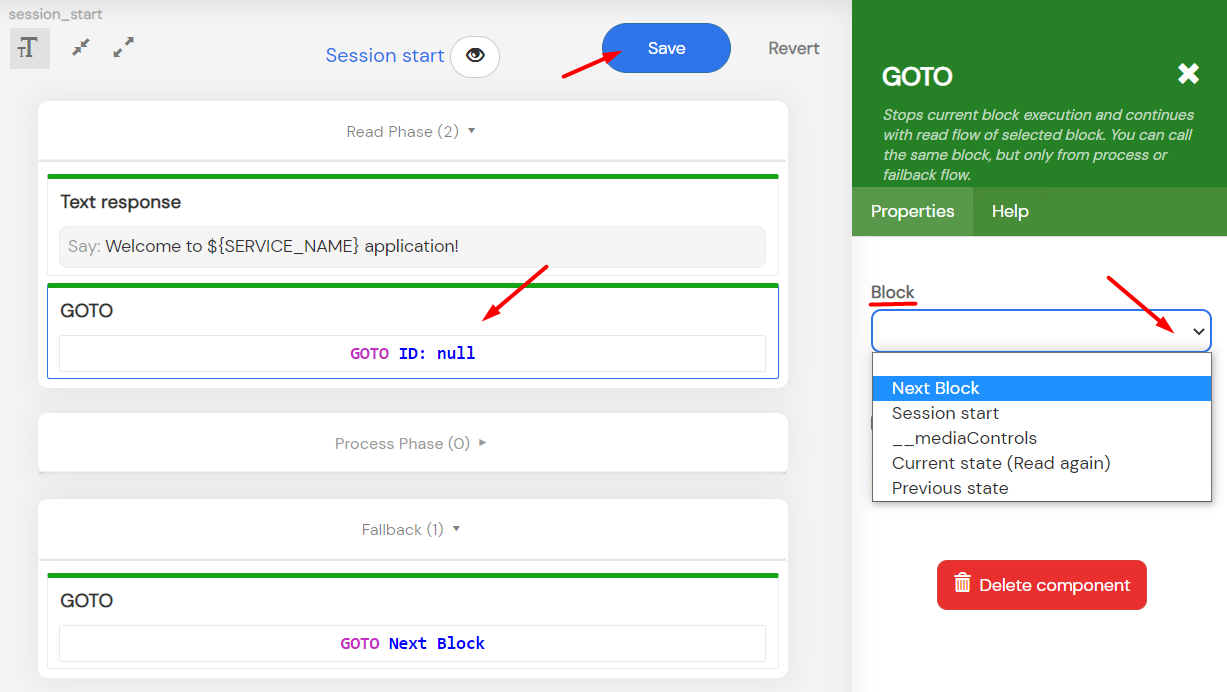
To make navigation easier, whenever you place a GOTO element that points to another block, you can click on the block’s name as if it were a link; it will take you to that block.
You can also use your web browser’s navigation to go through the editor, e.g. clicking on the Back button after you’ve clicked on a GOTO link will take you back to the block you were just on.
Preview
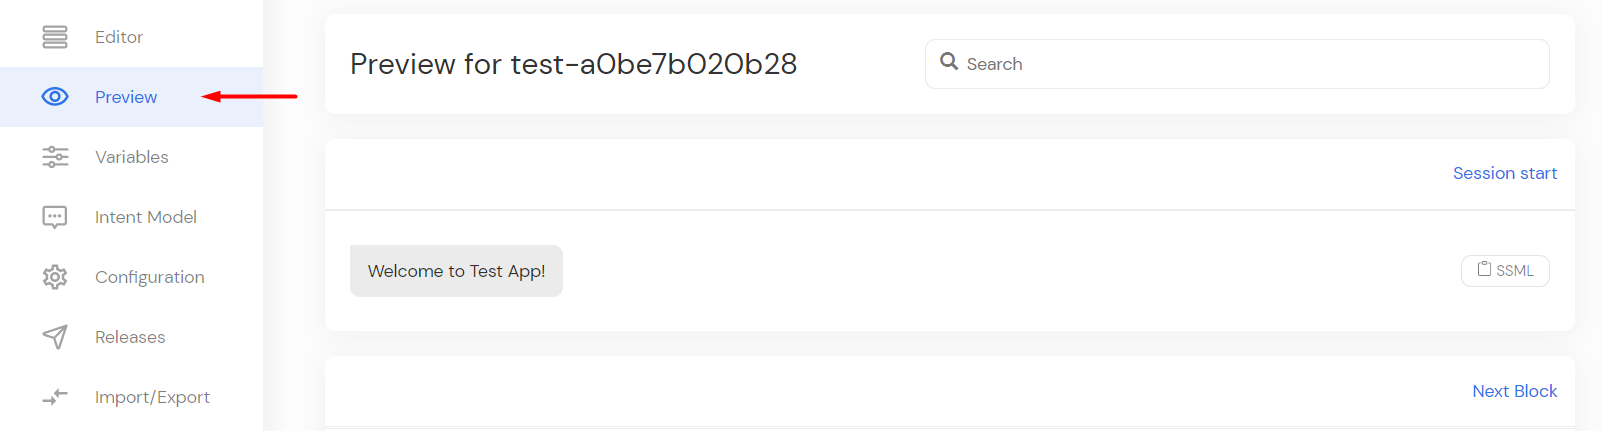
In this sub-section, you can quickly preview how the conversation will play out.
Every sentence is grouped into its respective phase, so you can get the general idea of how a conversation might go in turns. There are also hyperlinks to intents for each utterance group, so you can easily go in and change things if needed. One additional feature is that you can hit the “SSML” button next to any bot utterance, and it will copy the SSML markup for that expression. Read more about SSML here, and you can test it out here.
Variables
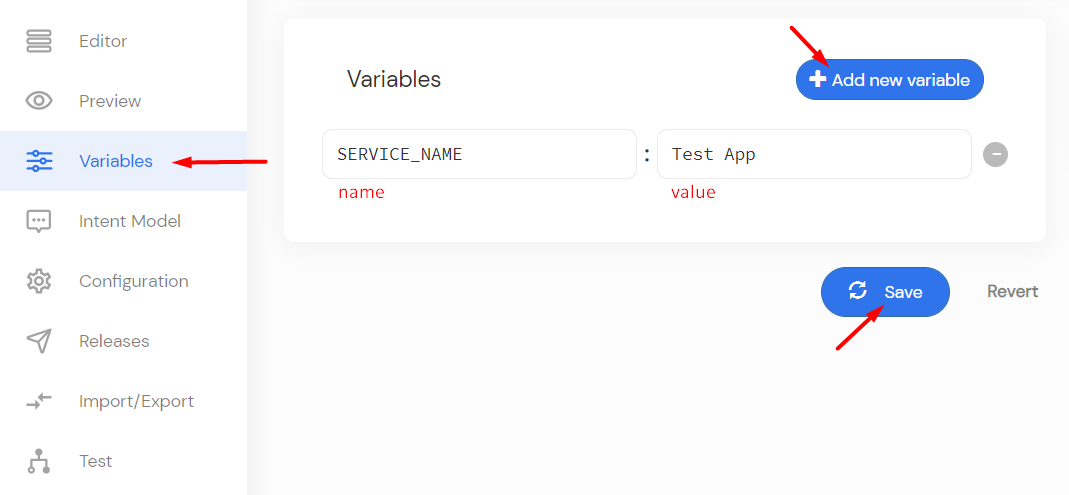
Here you can define variables that are available service-wide. You can also set “Preview variables.” If you have a variable that’s not a constant, i.e. it depends on something like an HTTP call, a user’s input, etc., you can set an “example” value for it that will show up in the preview to help you conceptualize how everything will flow. For example, say you have a skill where a user can give their birthday, and then your skill checks to see what day their next birthday will fall on. You’d store the result of some operation that checks the day that a date will fall on in a variable, called nextUserBirthdayDay. Since this is impossible to set to a consant (how could all birthdays fall on a Sunday?), it would look kind of weird in the preview. So just for a placeholder value, you could create a preview variable called nextUserBirthdayDay and set it to “Sunday”, so that wherever the construct ${nextUserBirthdayDay} appears, in the preview it would be replaced with “Sunday”.
Intent Model
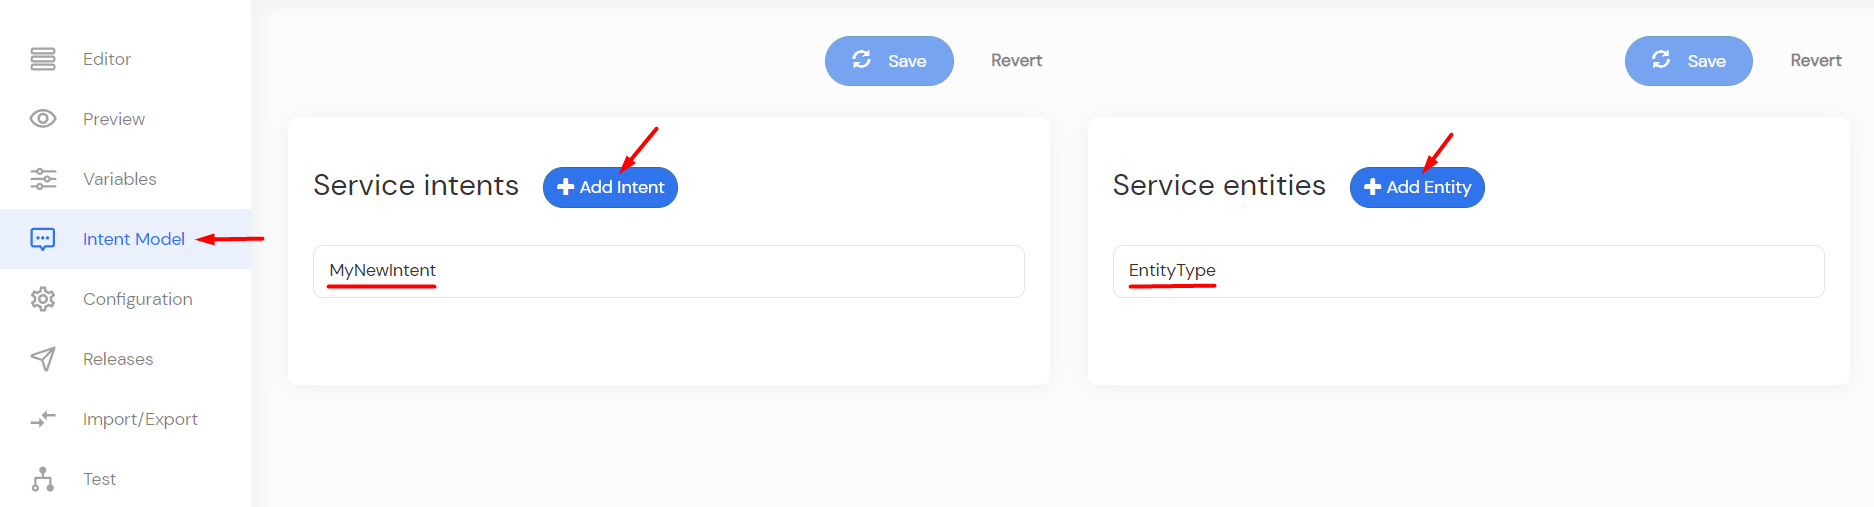
This is the overview section for intents and entities, which we’ve explained in detail in a previous chapter. Here you can check which intent and entities exist, delete them, create new ones, edit existing, etc.
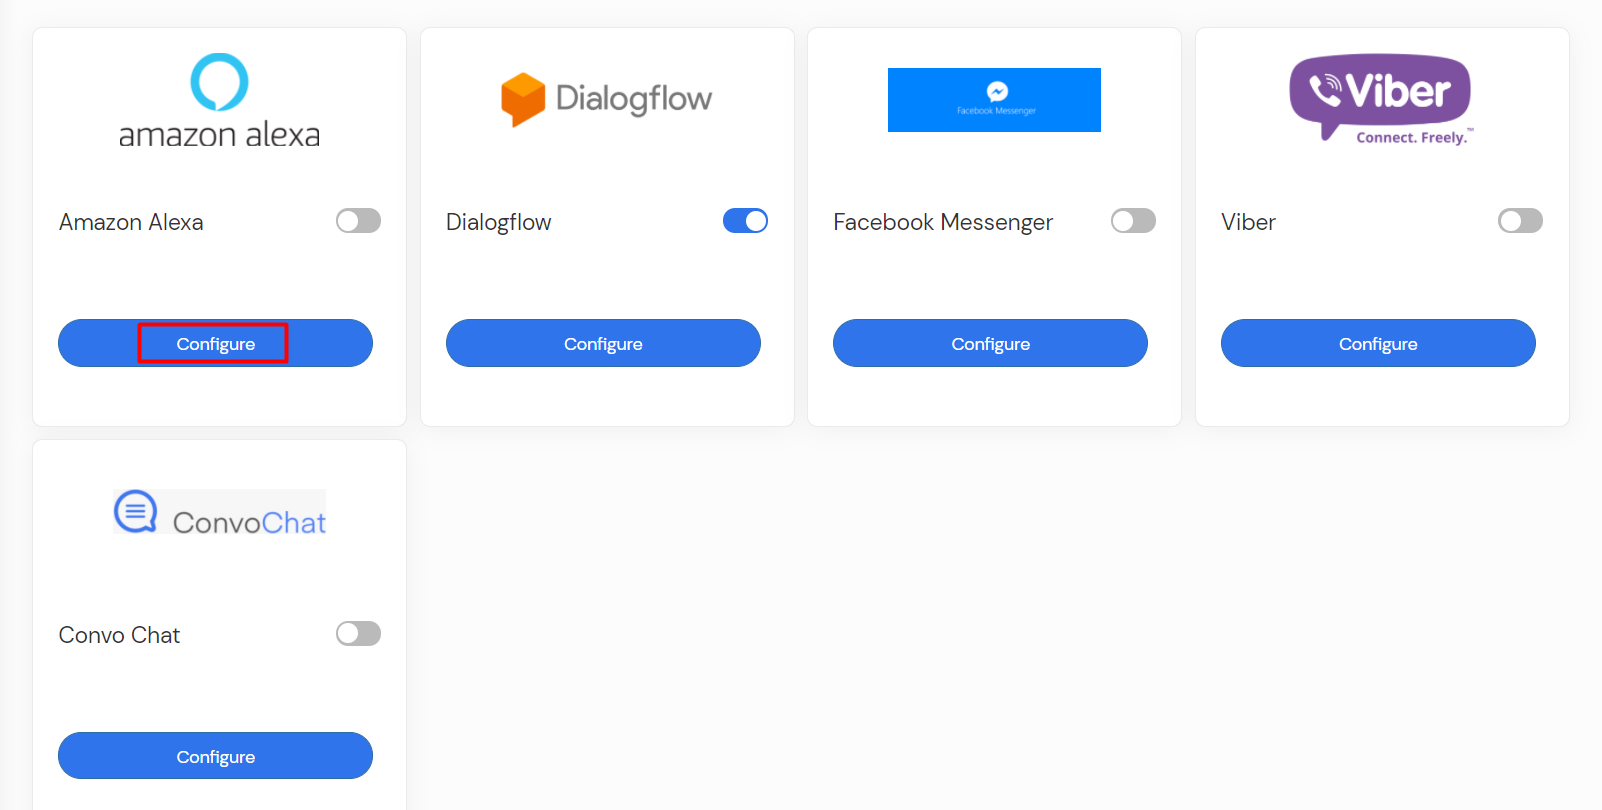
Configuration
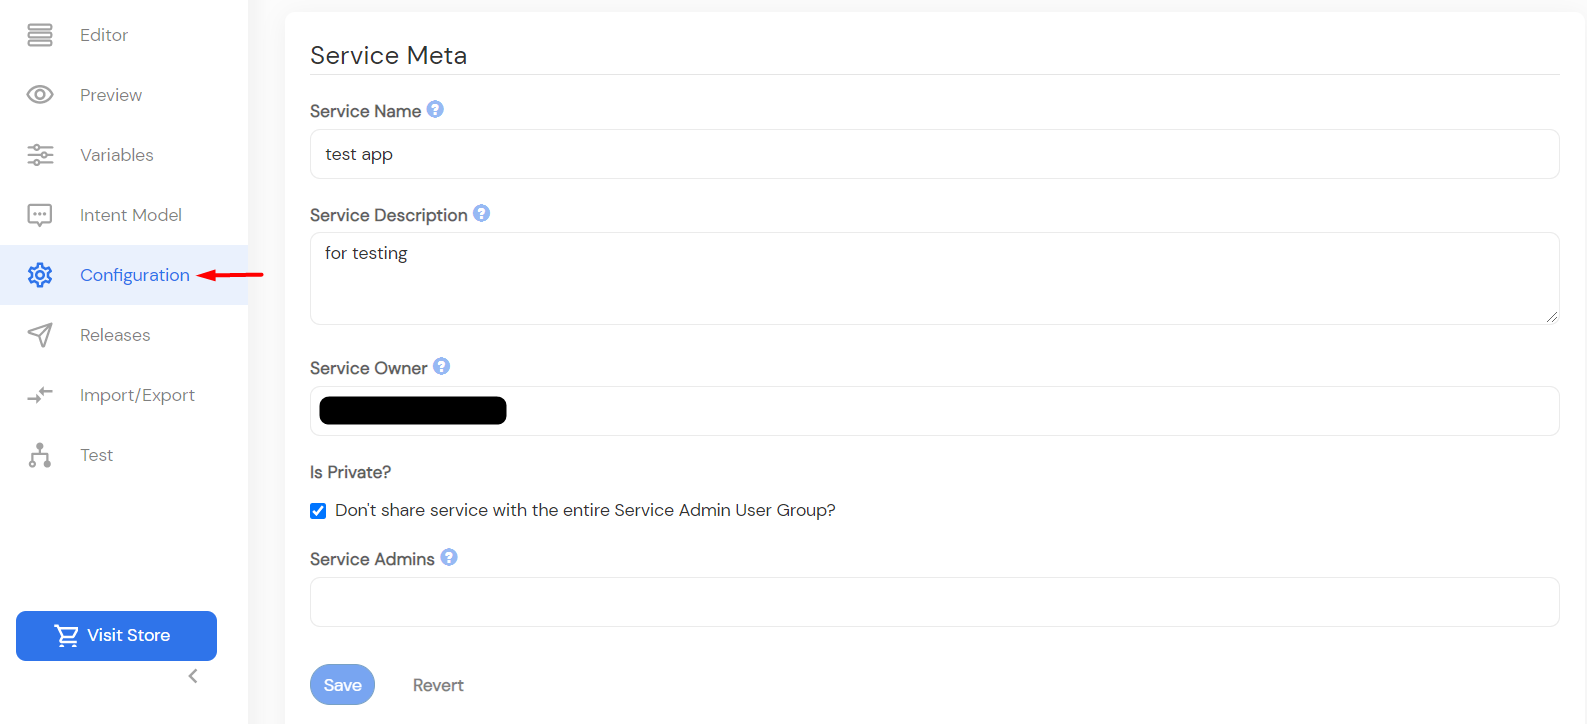
This section contains the main service configuration, as well as several sub-sections for each available vendor. Here you can change some meta-data information for the current service, and create configurations for remote platforms such as Amazon.
Releases
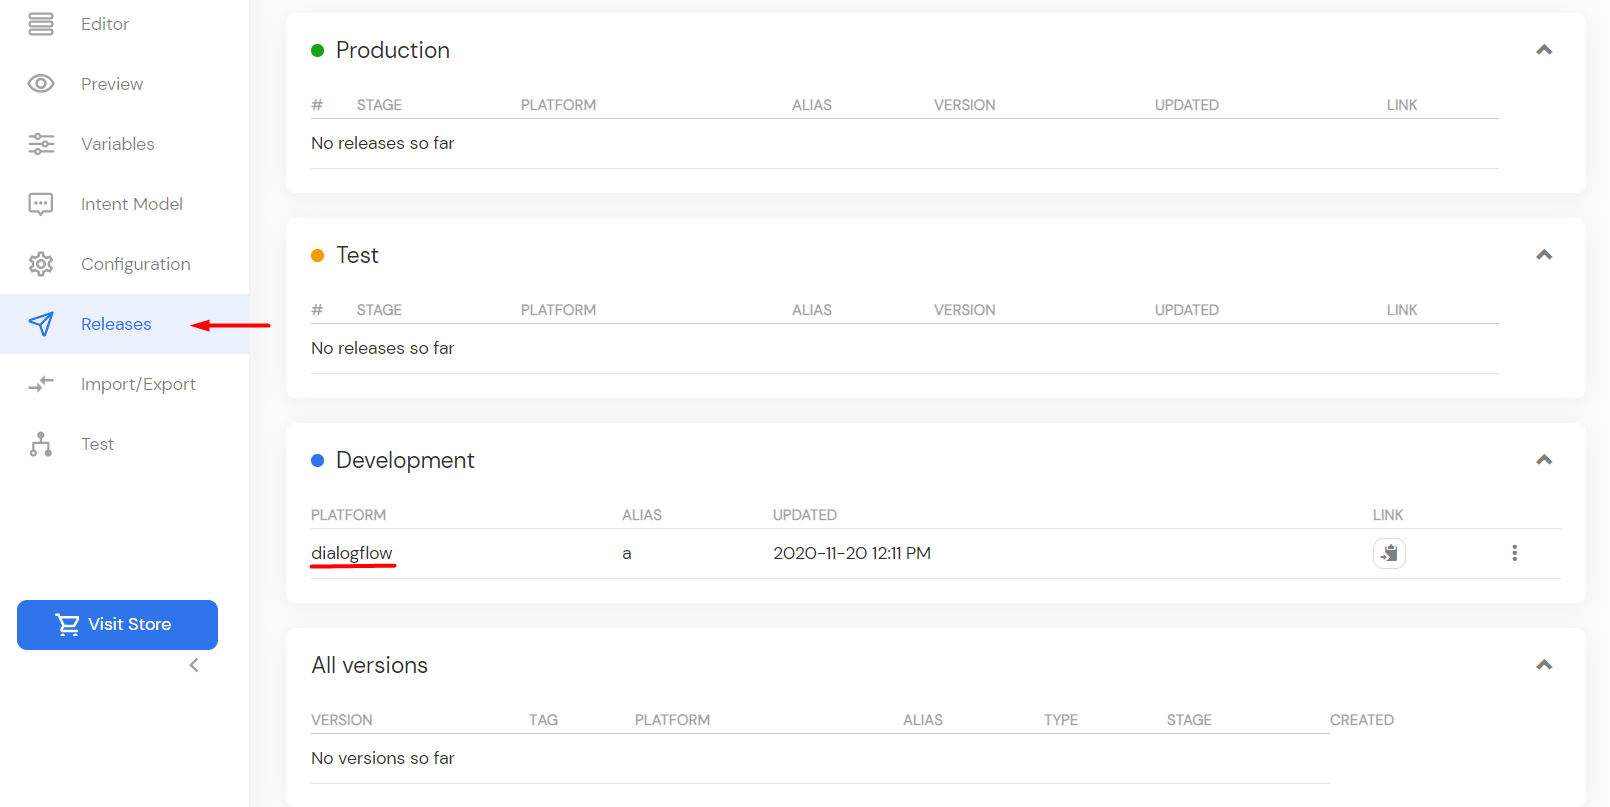
This sections is a bit more complicated. Here, you have an overview of all the versions of your skill that you’ve tagged and/or published. You can also get a quick overview of any platforms you’ve published your skill to, to check the state of the skill on that particular platform. You can also tag Convoworks versions here. We’ll go more in depth on this topic in a future chapter.
Import/Export
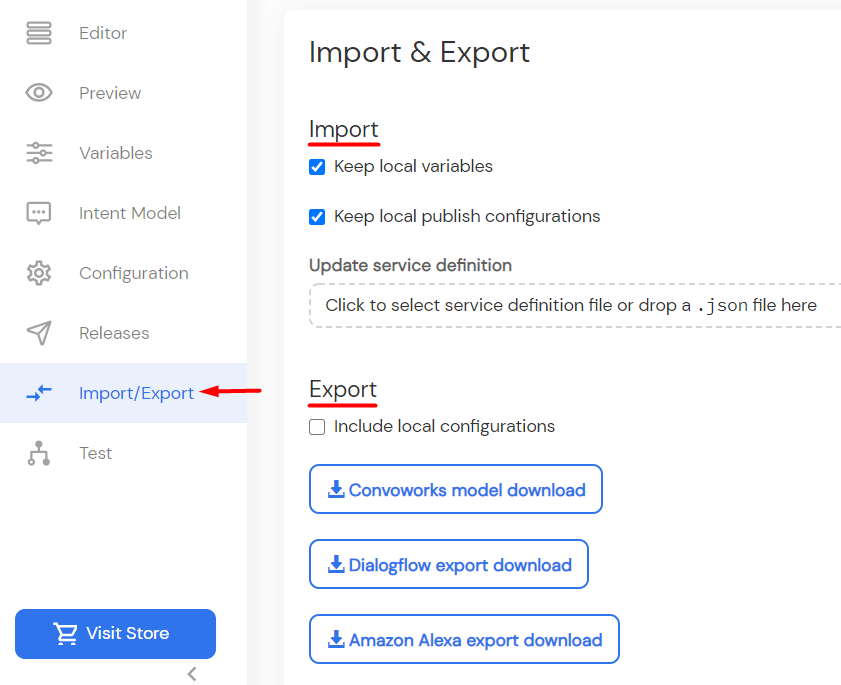
Here you can import existing an existing service to your workflow, export the current Convoworks model, as well as export in Amazon’s and Dialogflow formats. Note that exporting an Amazon model results in a .json file, while Dialogflow export will download a .zip archive. When importing and exporting, you may choose to keep your current configurations and variables, or to have them be overwritten with new ones.
Test
In this section, you have a chat box where you can test your skill via a text interface. If you’ve published your skill to another platform, you may choose to run the simulated requests through that platform. You can also show debug information that contains data about the current state of the service, variables, requests, responses, etc. Needless to say, you’ll be spending a lot of time in this view while you’re developing your service.

Additionally, if you have propagated your skills to platforms with their own simulators (mainly Alexa and Dialogflow), there will be links to those platforms that you can follow to quickly test your skill within the vendor’s system.